Context
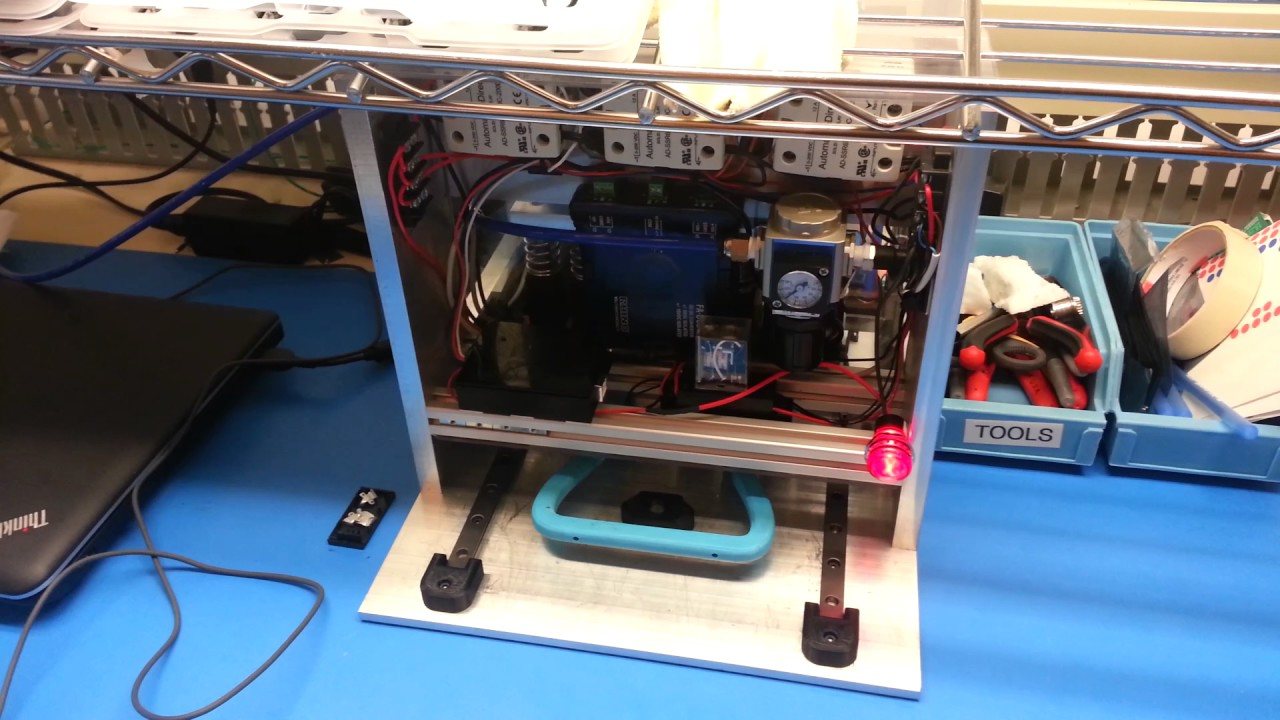
Thalmic Labs, then about 75 people, was starting to manufacture its first product: the Myo, an armband that reads muscle EMG signals to recognize hand gestures. Production hadn’t started when I arrived and was running at about 400 units a day when I left. My job was building equipment to improve the manufacturing process.
The Myo is eight plastic pods, each a snap-together front and back, joined by a flexible band with an overmoulded flexible PCB linking them.
Pod press
An urgent problem started just before I joined. Conformal coating kept the boards from shorting, but a drop of water inside a pod, sitting over the flexible PCB’s capacitive coupling, could add noise, so the pods were now sealed with a silicone adhesive. If they weren’t pressed together hard and evenly enough while it cured, they popped apart. Early runs yielded only 60%, almost all of the losses from uneven closing force, and pressing hard enough by hand wasn’t realistic.
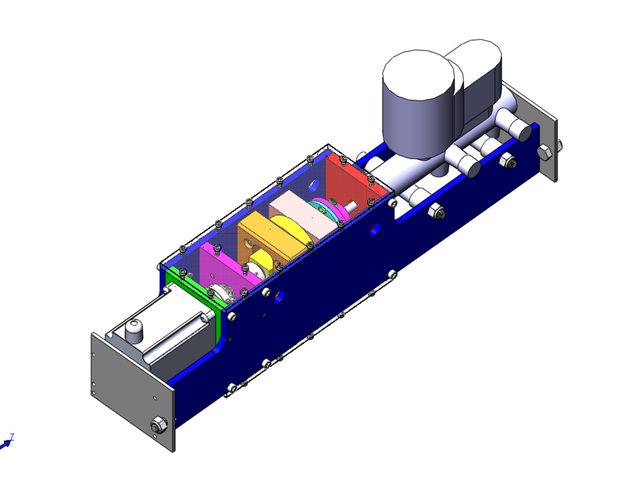
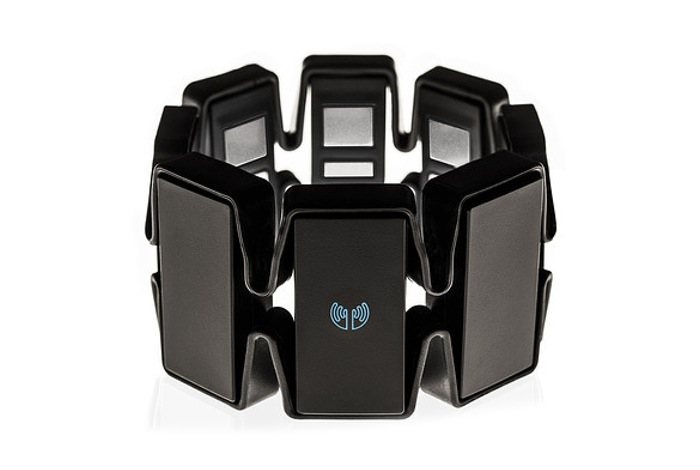
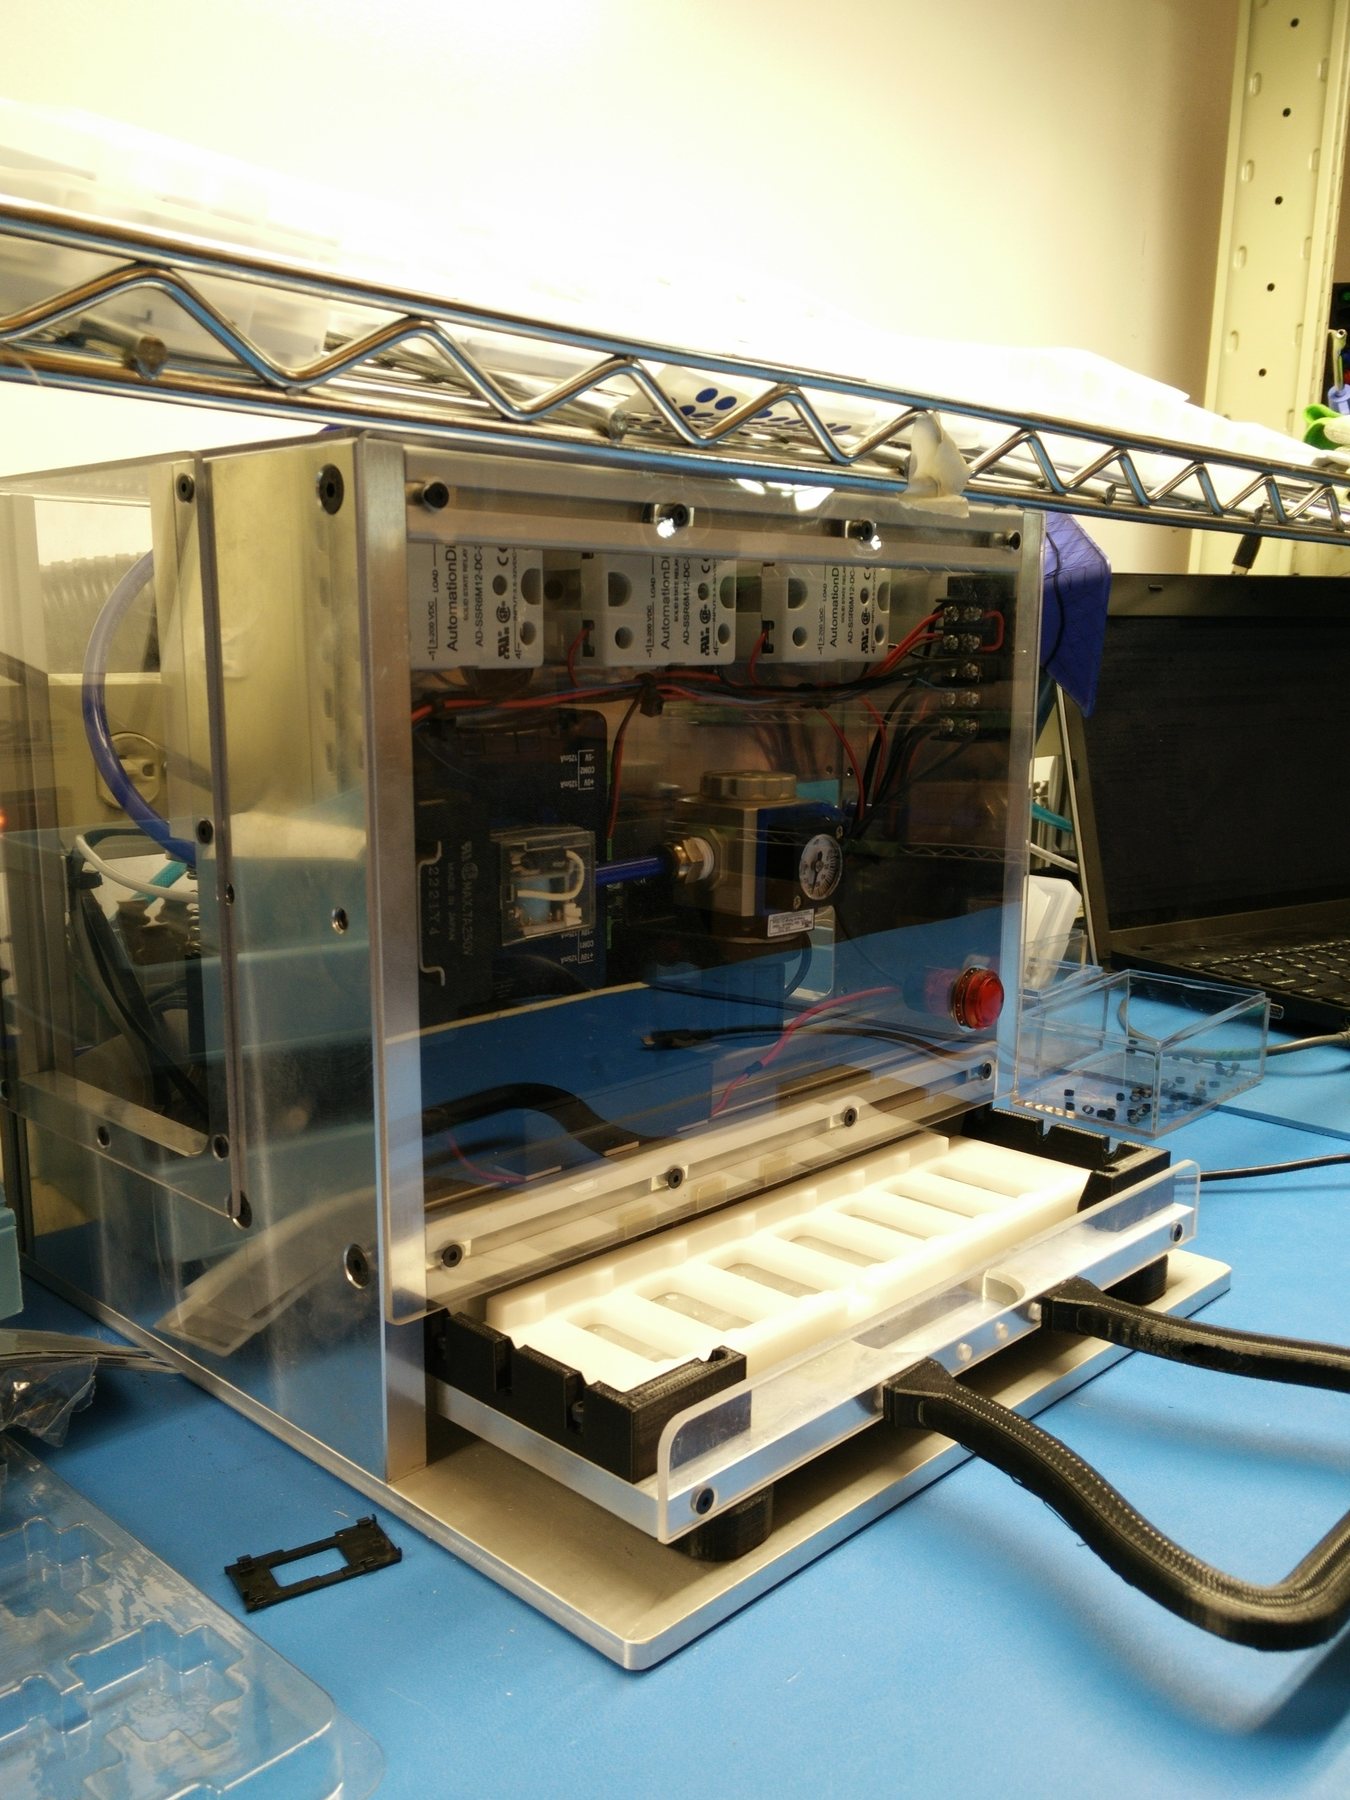
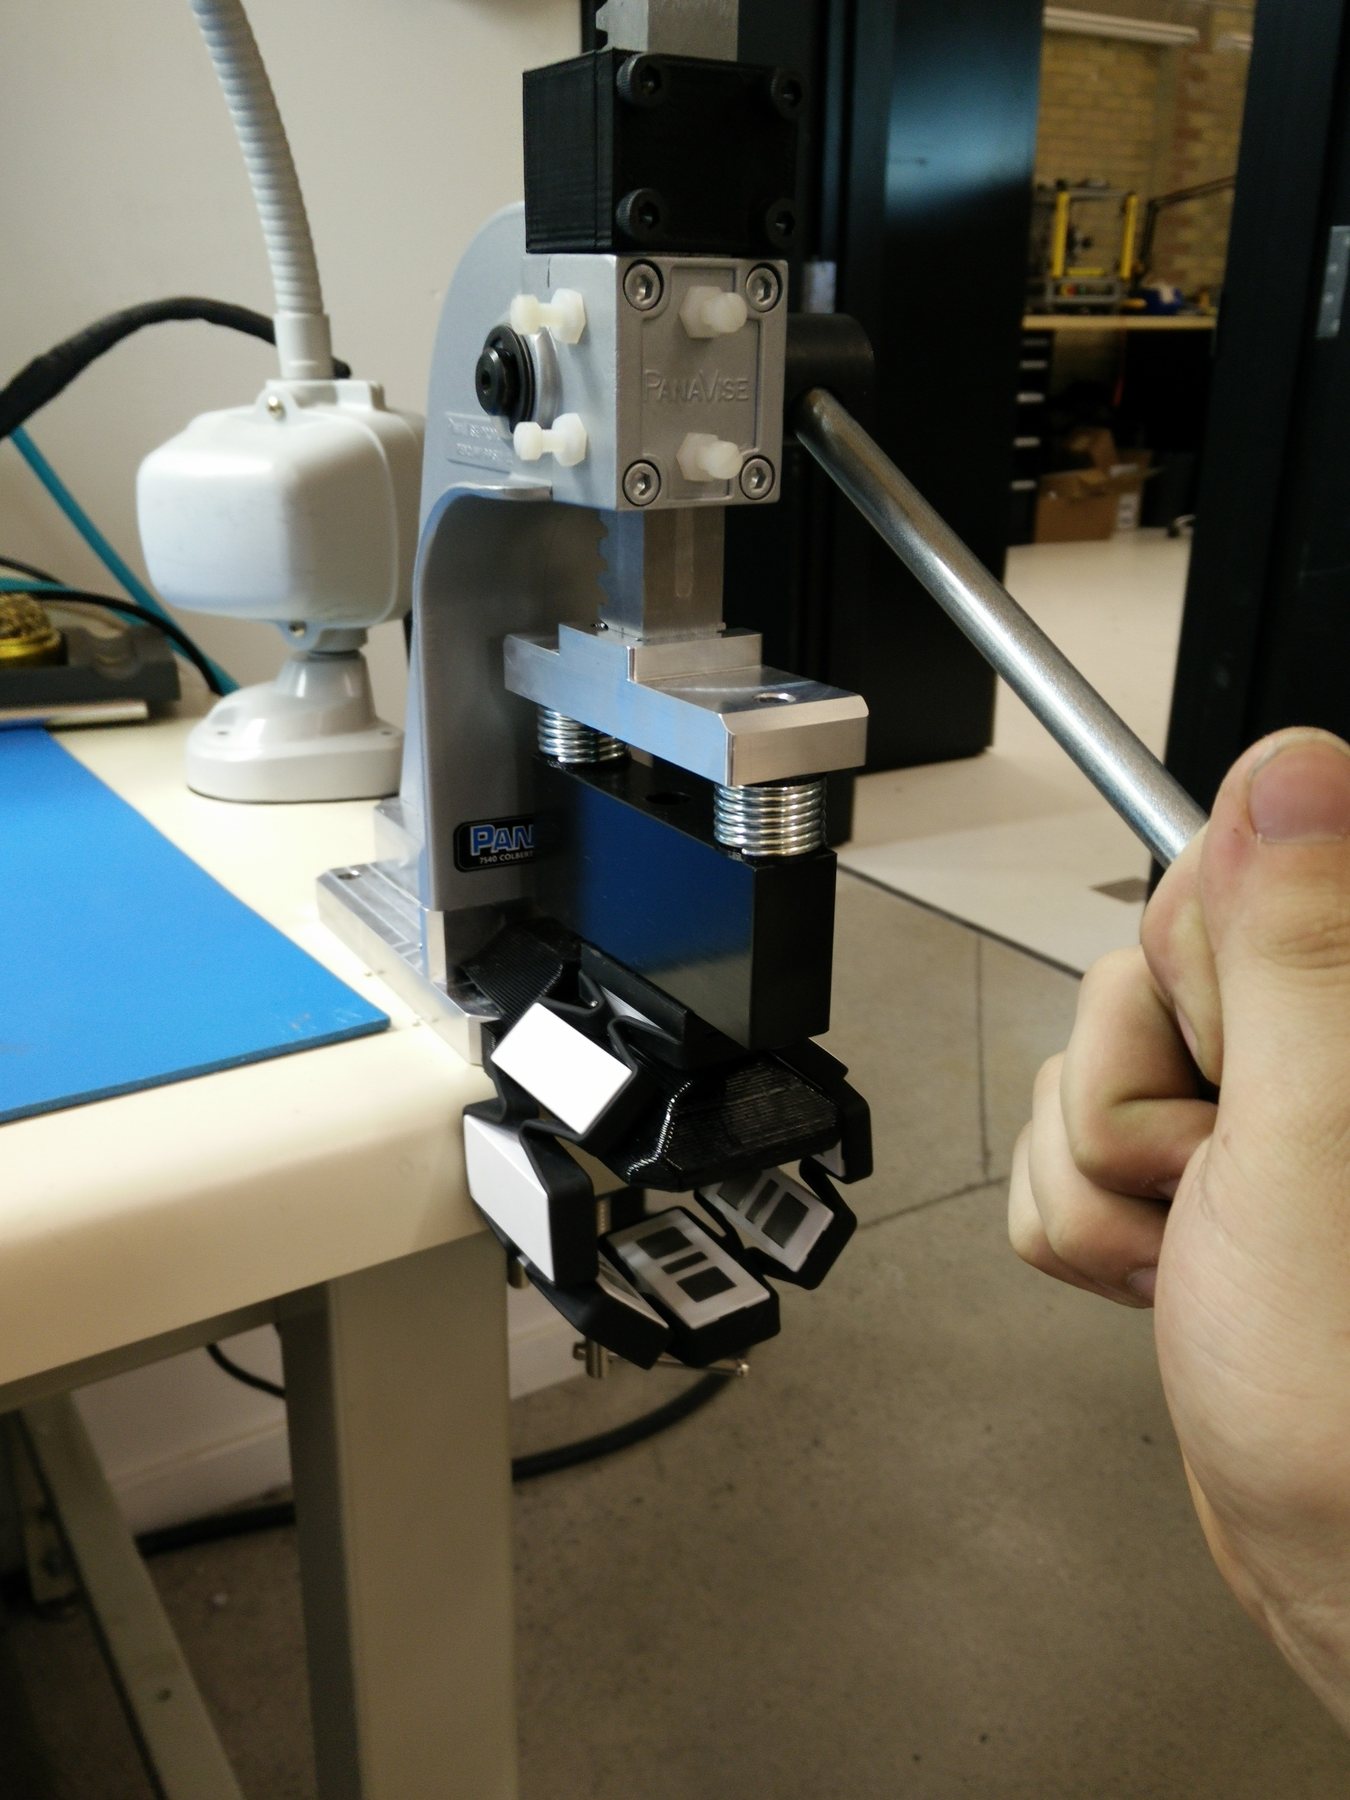
I designed a benchtop pneumatic press that closes a Myo in four seconds without damaging it, safe to use without extra protection thanks to guards, lockouts and an electromagnetic latch. Each pod gets independently calibrated force through spring-loaded pads that also nudge misaligned parts into place. A fitted carrier holds the loose parts during assembly, and a hand press, on the same sprung-pad principle, closes the eighth pod after the band is rolled and handles rework. Together they took yield to about 98%.
Pod assembly process
- LoadFitted carrierHolds pods, connectors and adhesive in place
- PressPneumatic pressSpring-loaded pad per pod · guards, lockouts, magnetic latch
- CloseRoll the bandSeat the 8th pod
- ReworkHand pressFor the last pod and for rework
Overmoulding jig
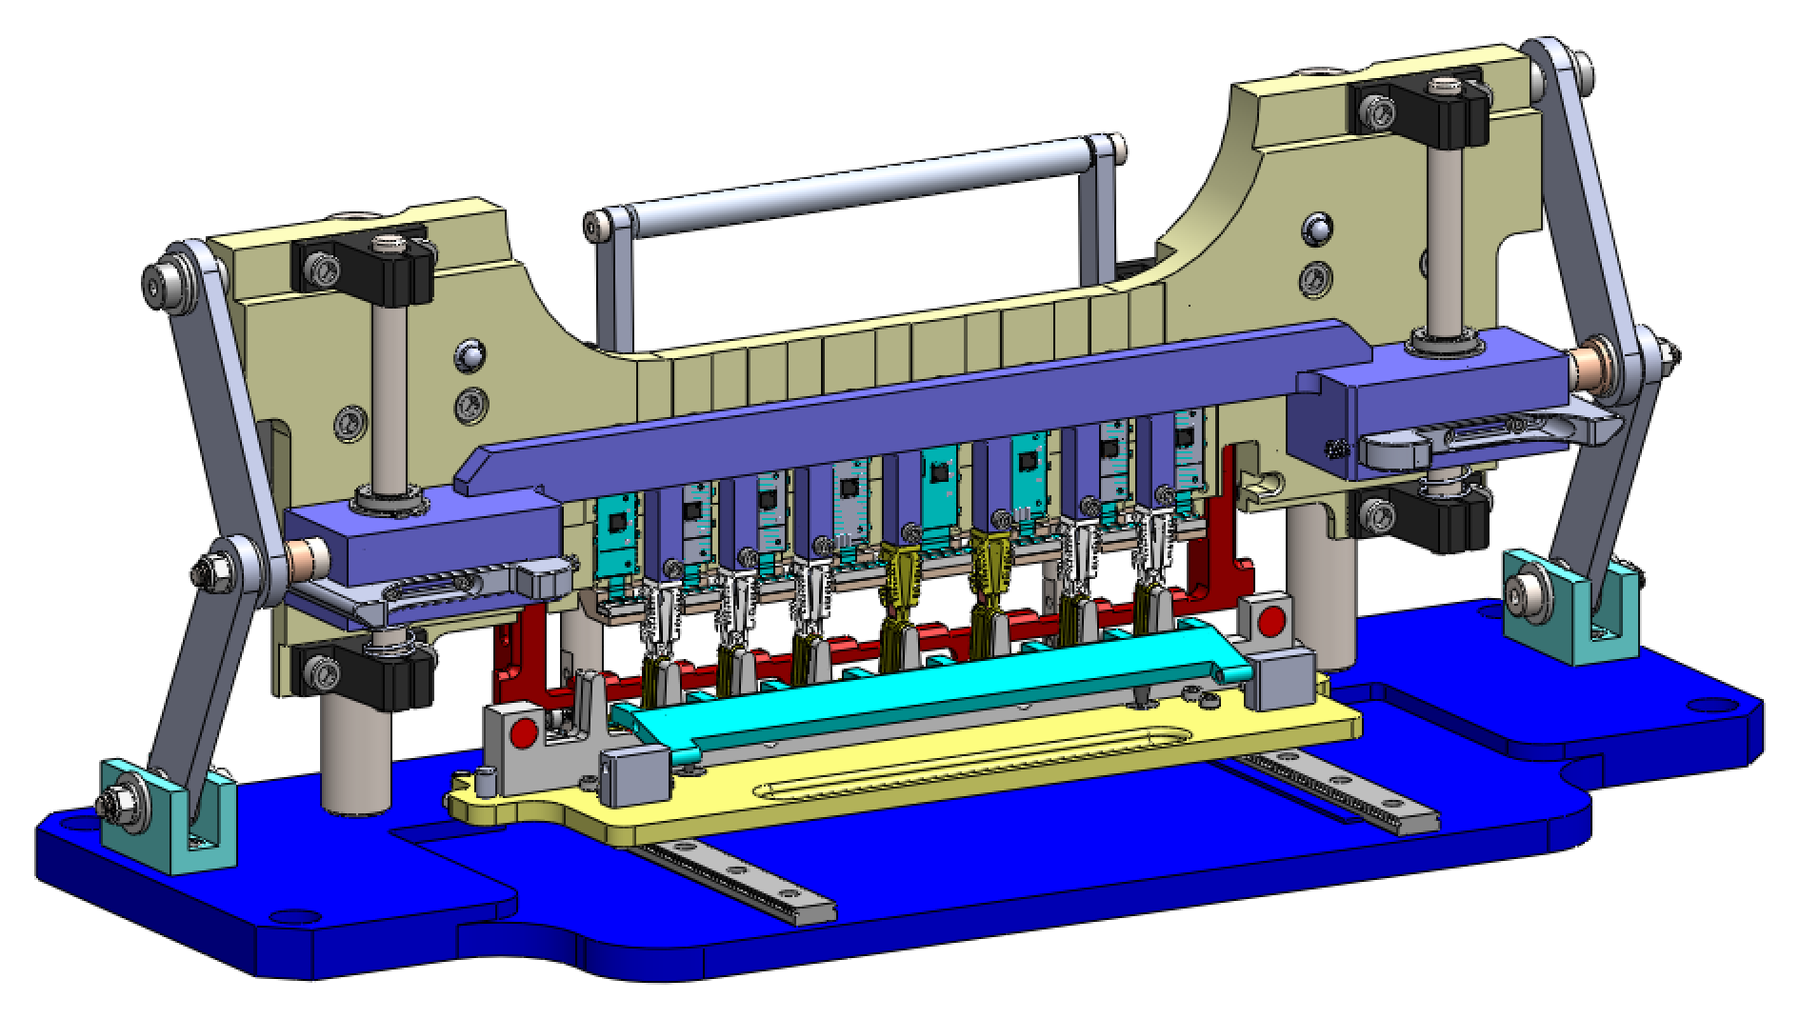
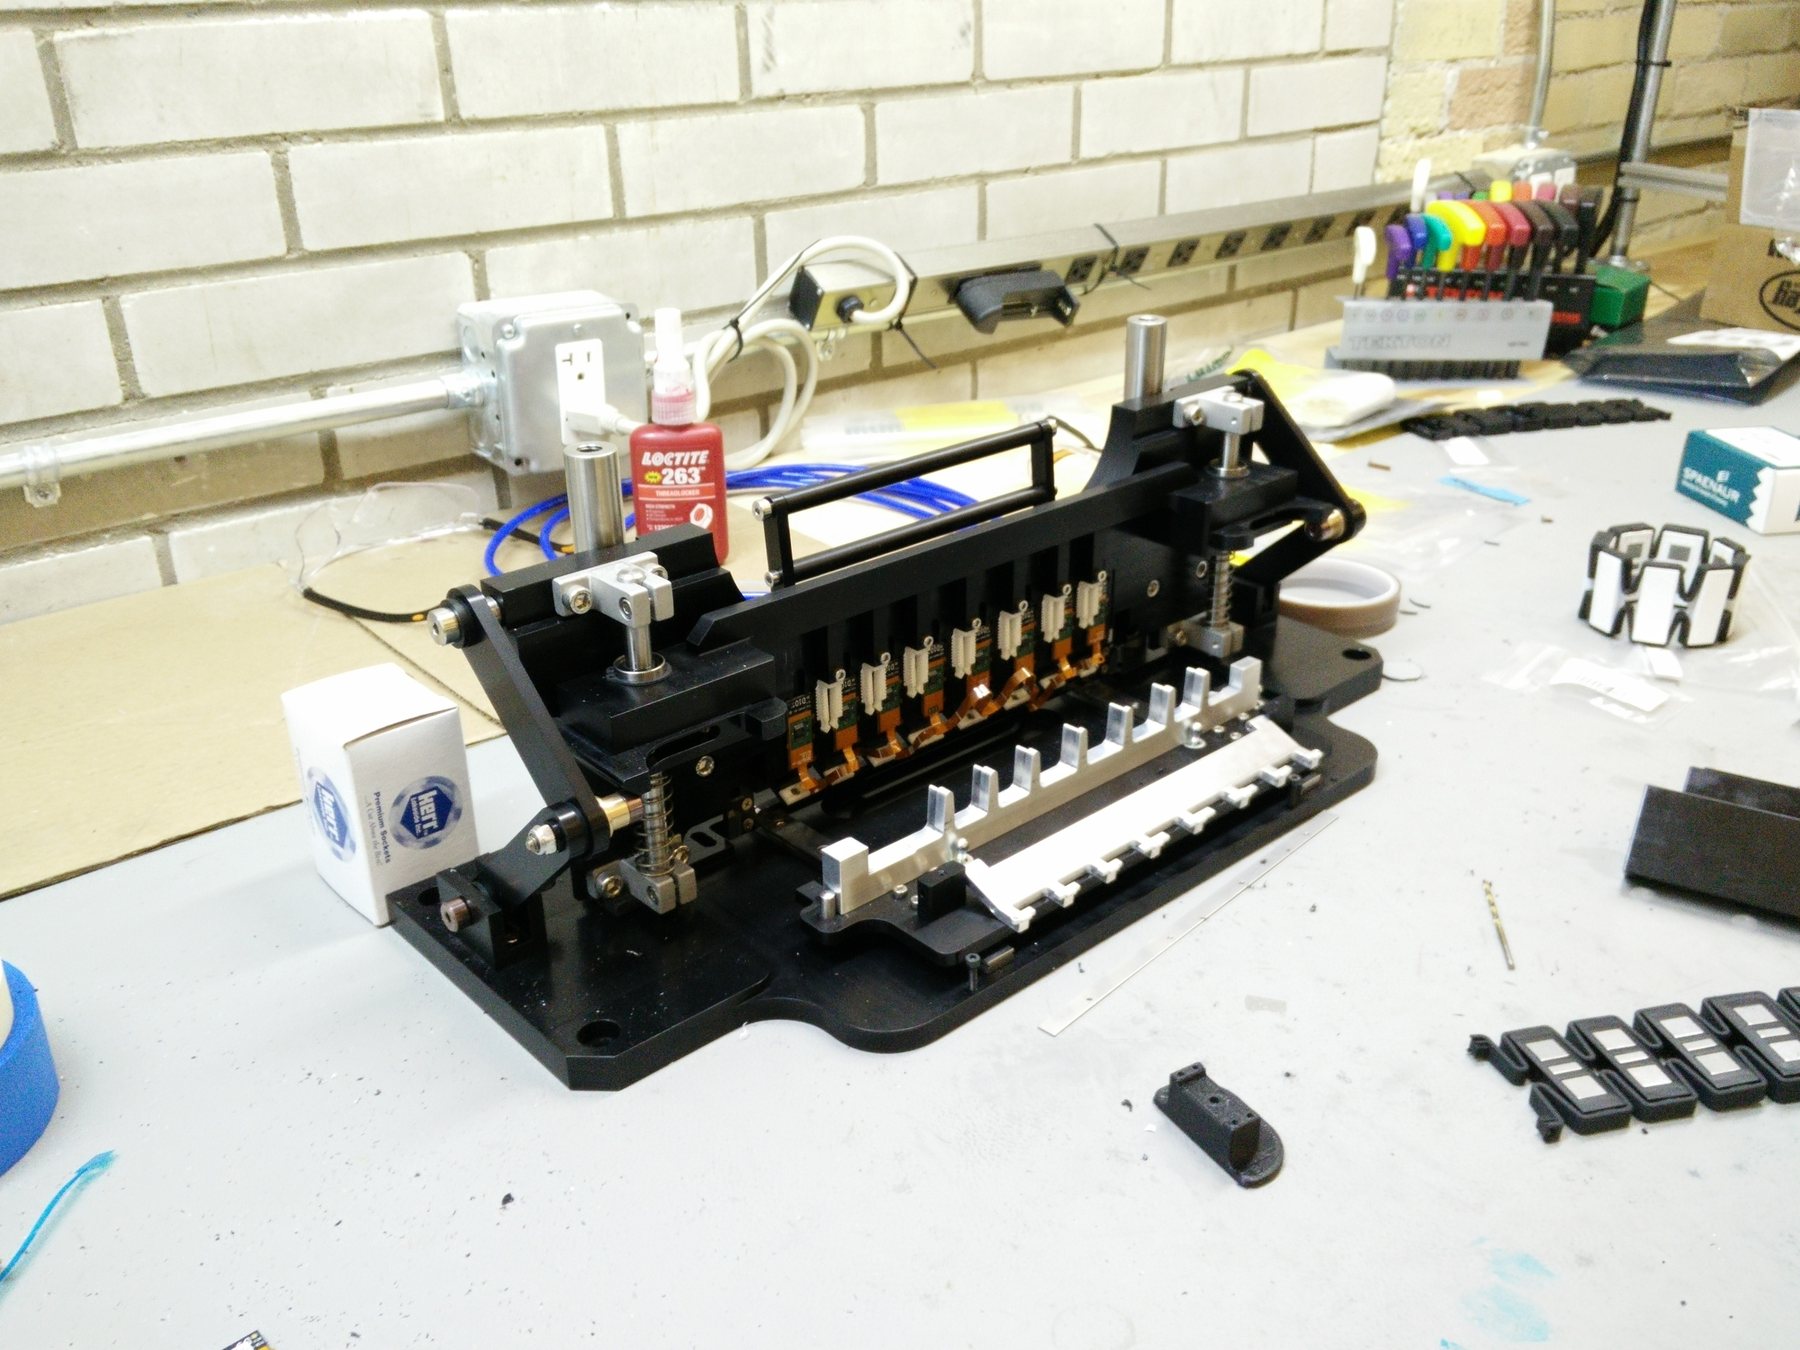
I also took over a jig from the mechanical lead for placing the flexible PCB into its moulded channel before the second overmoulding shot. The channel was a zig-zag path where all eight pods had to line up within about half a millimetre, plus a 90° crease. I finalized the design so it was interference-free, operable and manufacturable, which meant breaking many of the original parts into assemblies. Then I made the drawings and got it built, with about a week and a half left to assemble it and run first tests.